Previewing your game
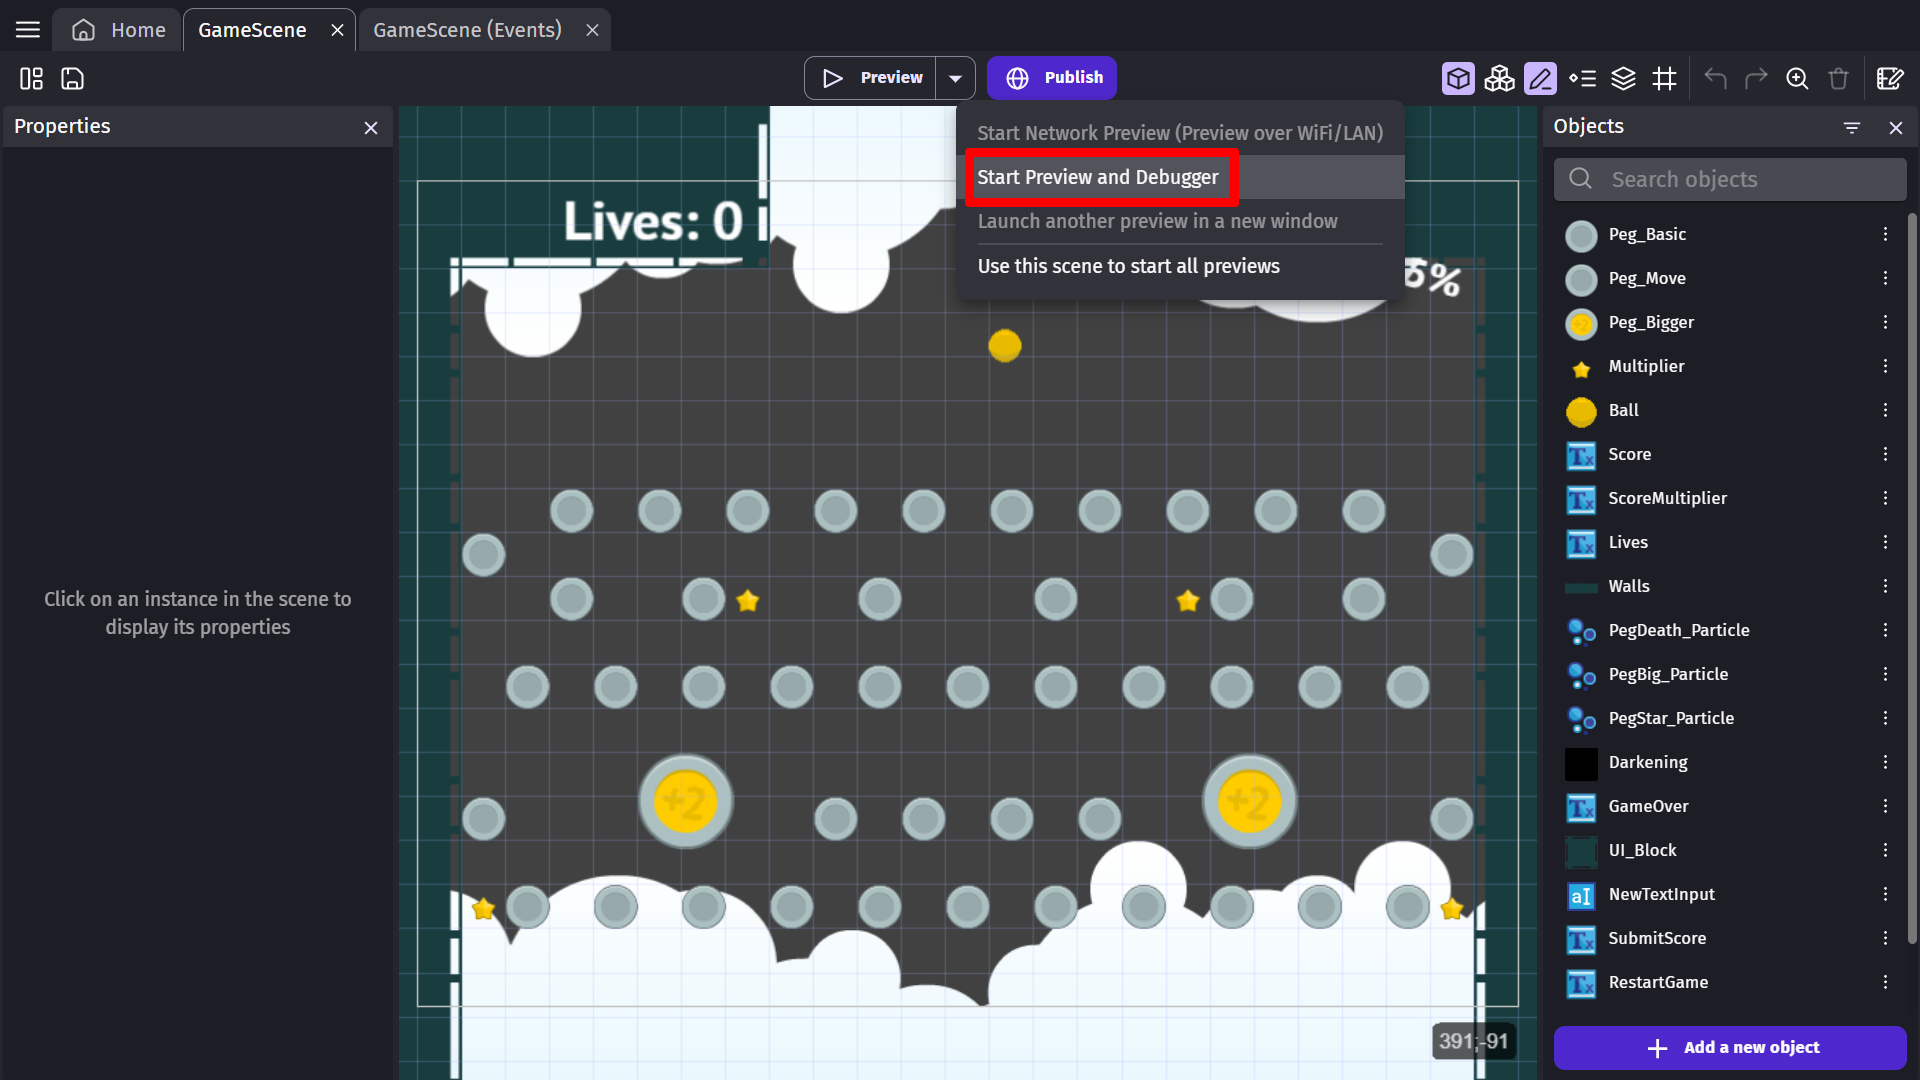
After opening a project, you can launch a preview of it at any time using the "Preview" button on the GDevelop toolbar. You can also access more options by clicking on the drop-down menu to the right of the preview button.
Launch a preview of a scene
By clicking on the "Preview" button, you can launch a preview of your game. By default, the preview will start with the scene that you're currently editing (or from the first scene if you've not opened any scene).
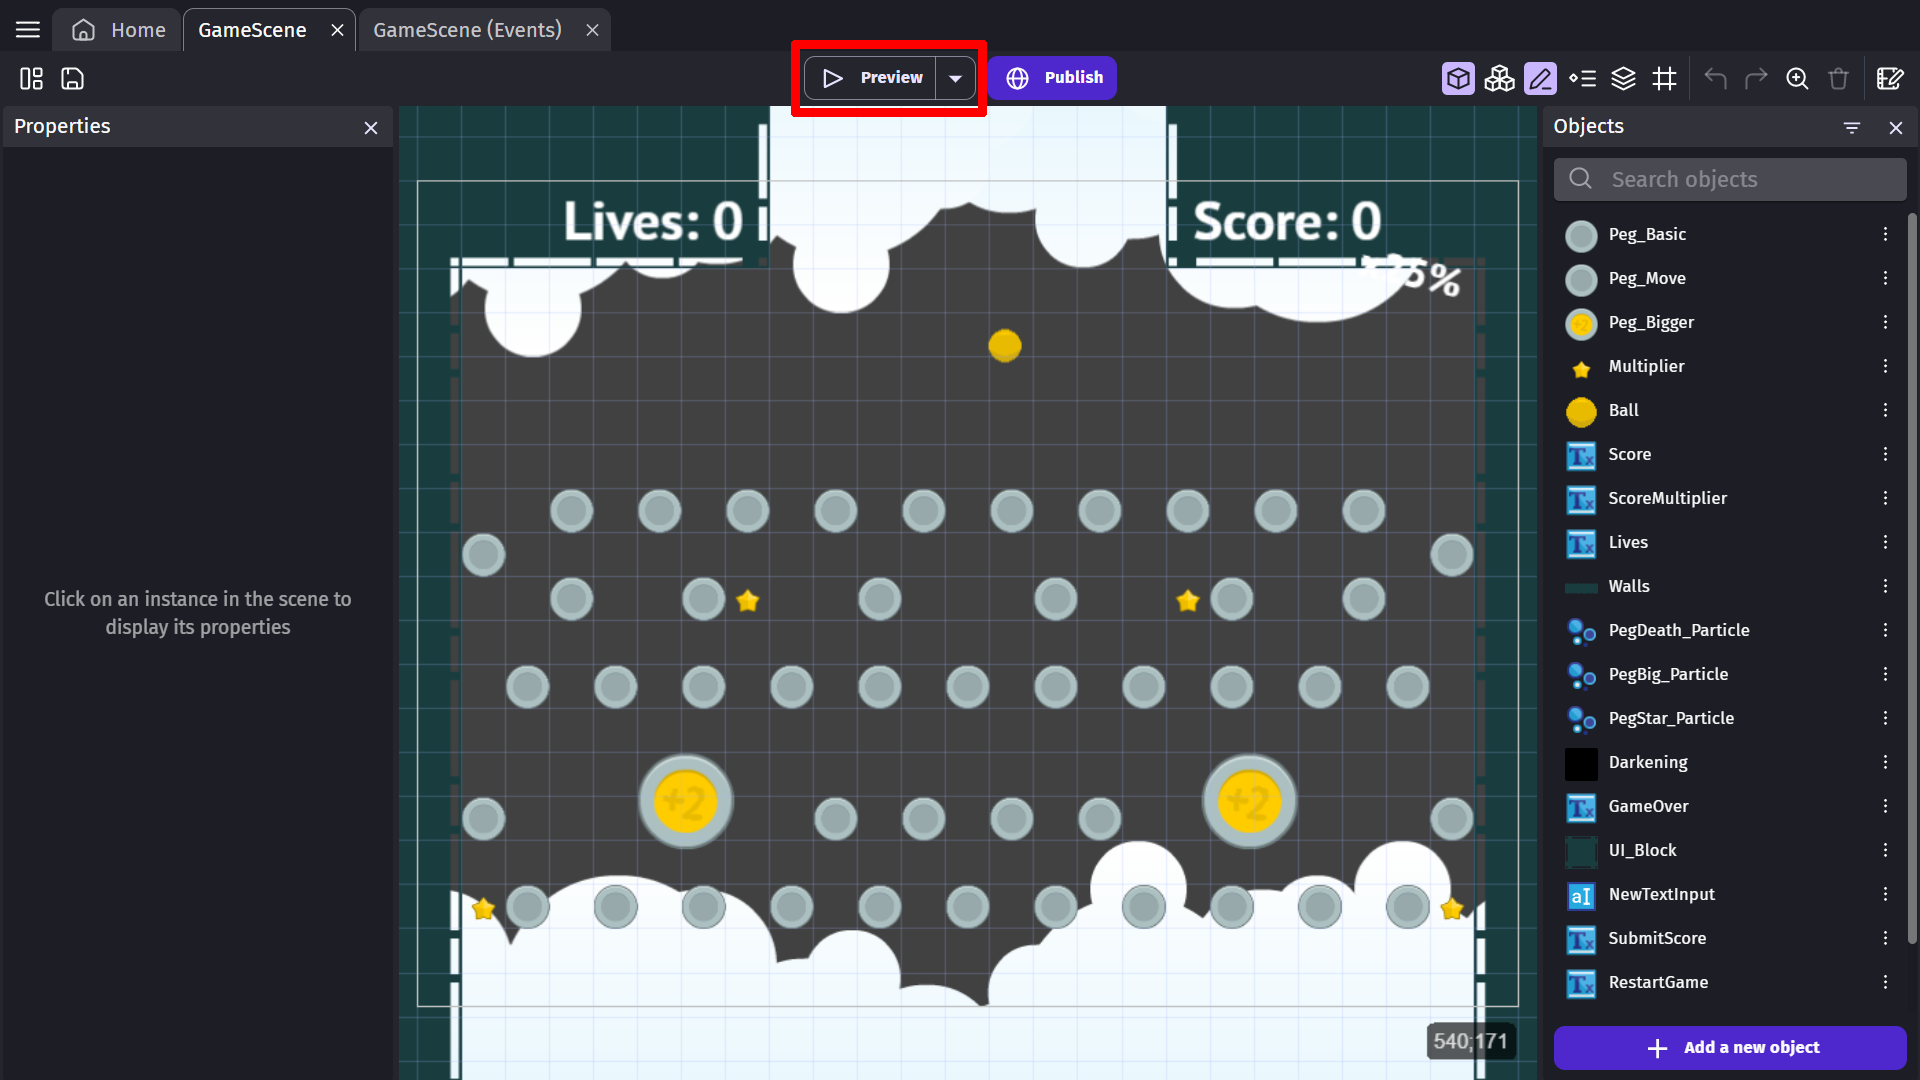
The preview will open in a separate window. Close the preview window to end the preview.
Apply your changes to your live preview
When the preview of your game is running, the preview button changes to an "update" button, which will apply changes you've made to the game to the preview. This is useful for designing your game while playtesting it, allowing you to quickly see and test the result without having to restart from the beginning of the scene after each change. (this is called "Live Preview" or, using more technical terms, "Hot Reloading"):
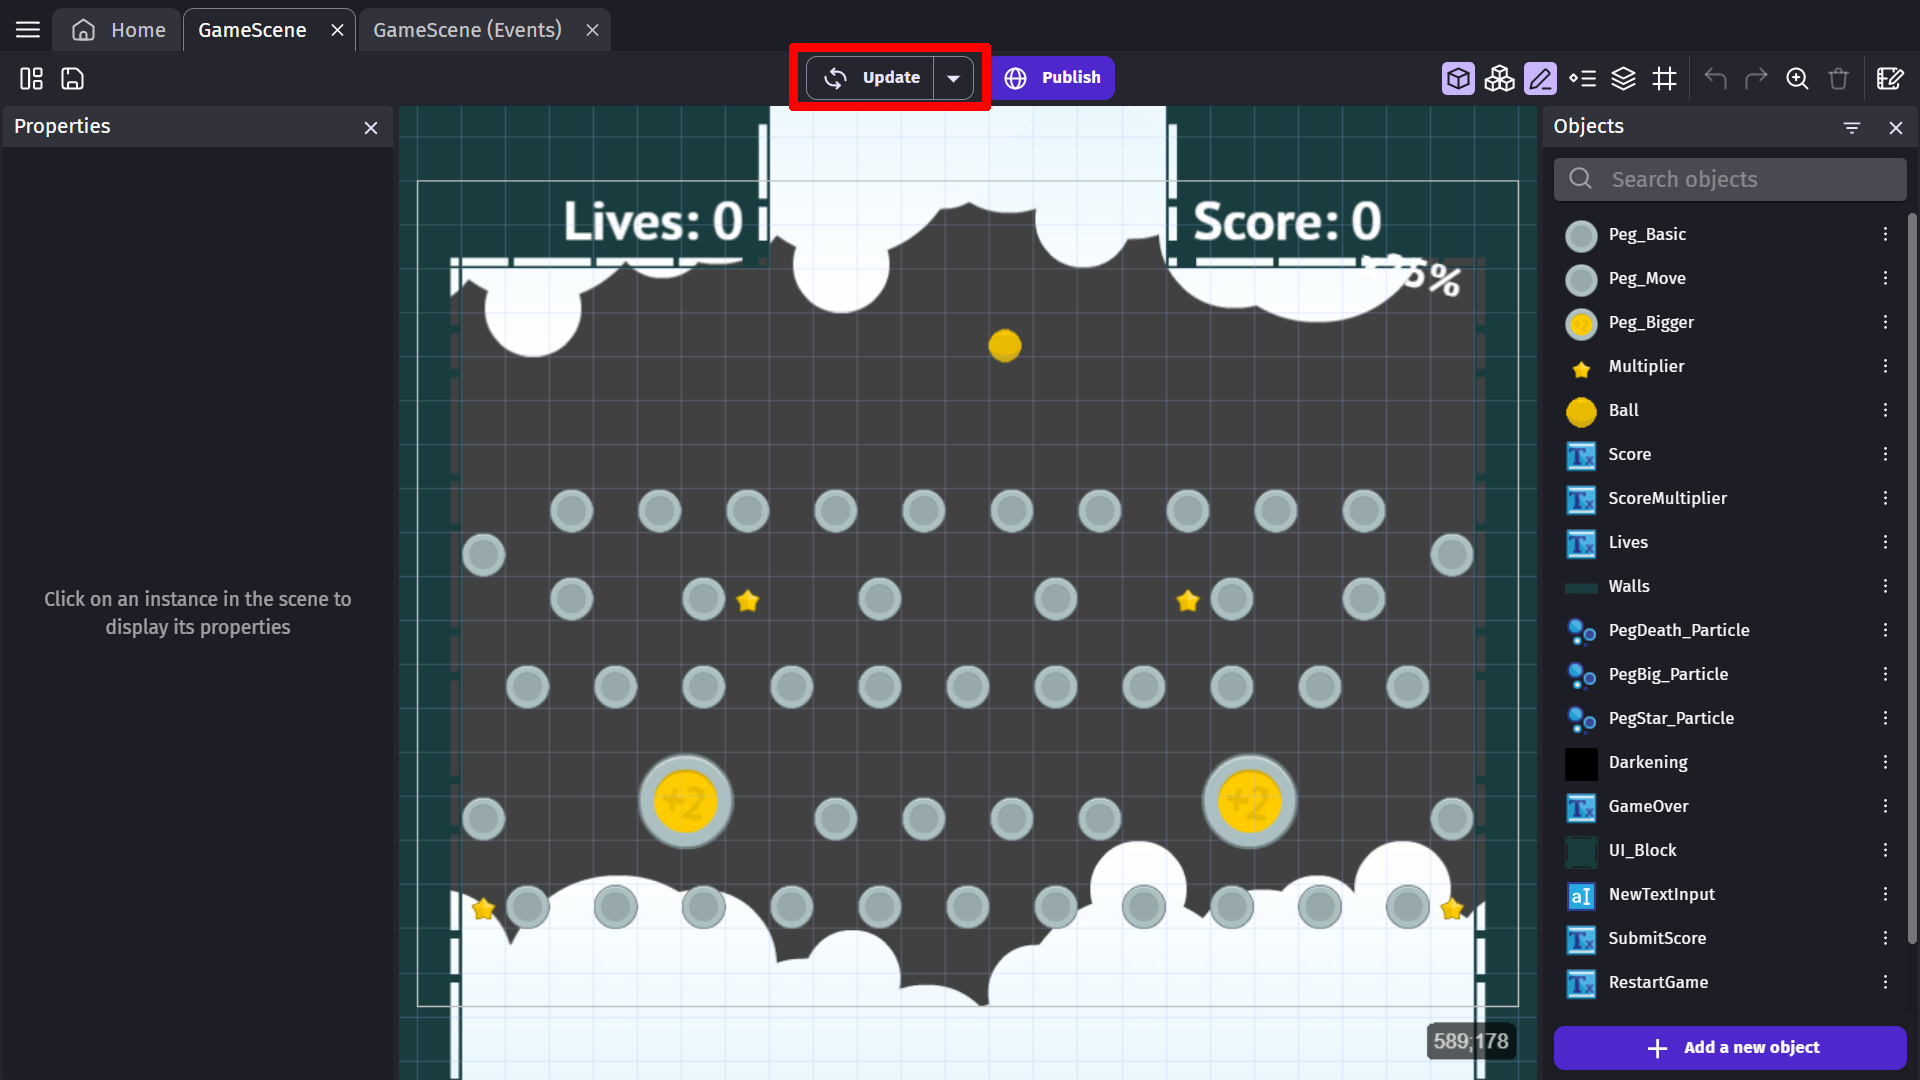
This is especially useful when you want to do some tweaks to your game, like changing the parameters of effects or the properties of the behavior of an object, and see the result immediately. It's also useful to check how your events are working without restarting your preview from the beginning.
Tip
Note that in certain rare cases, GDevelop will be unable to apply your changes to the preview. In this case, a dialog will invite you to close the preview and launch a new one from the beginning.
Start multiple live previews
While a preview is running, you can open the drop-down menu beside the preview button to show a menu where you can launch another preview in a new window. Useful for testing games with networking or just to test multiple iterations of your game.
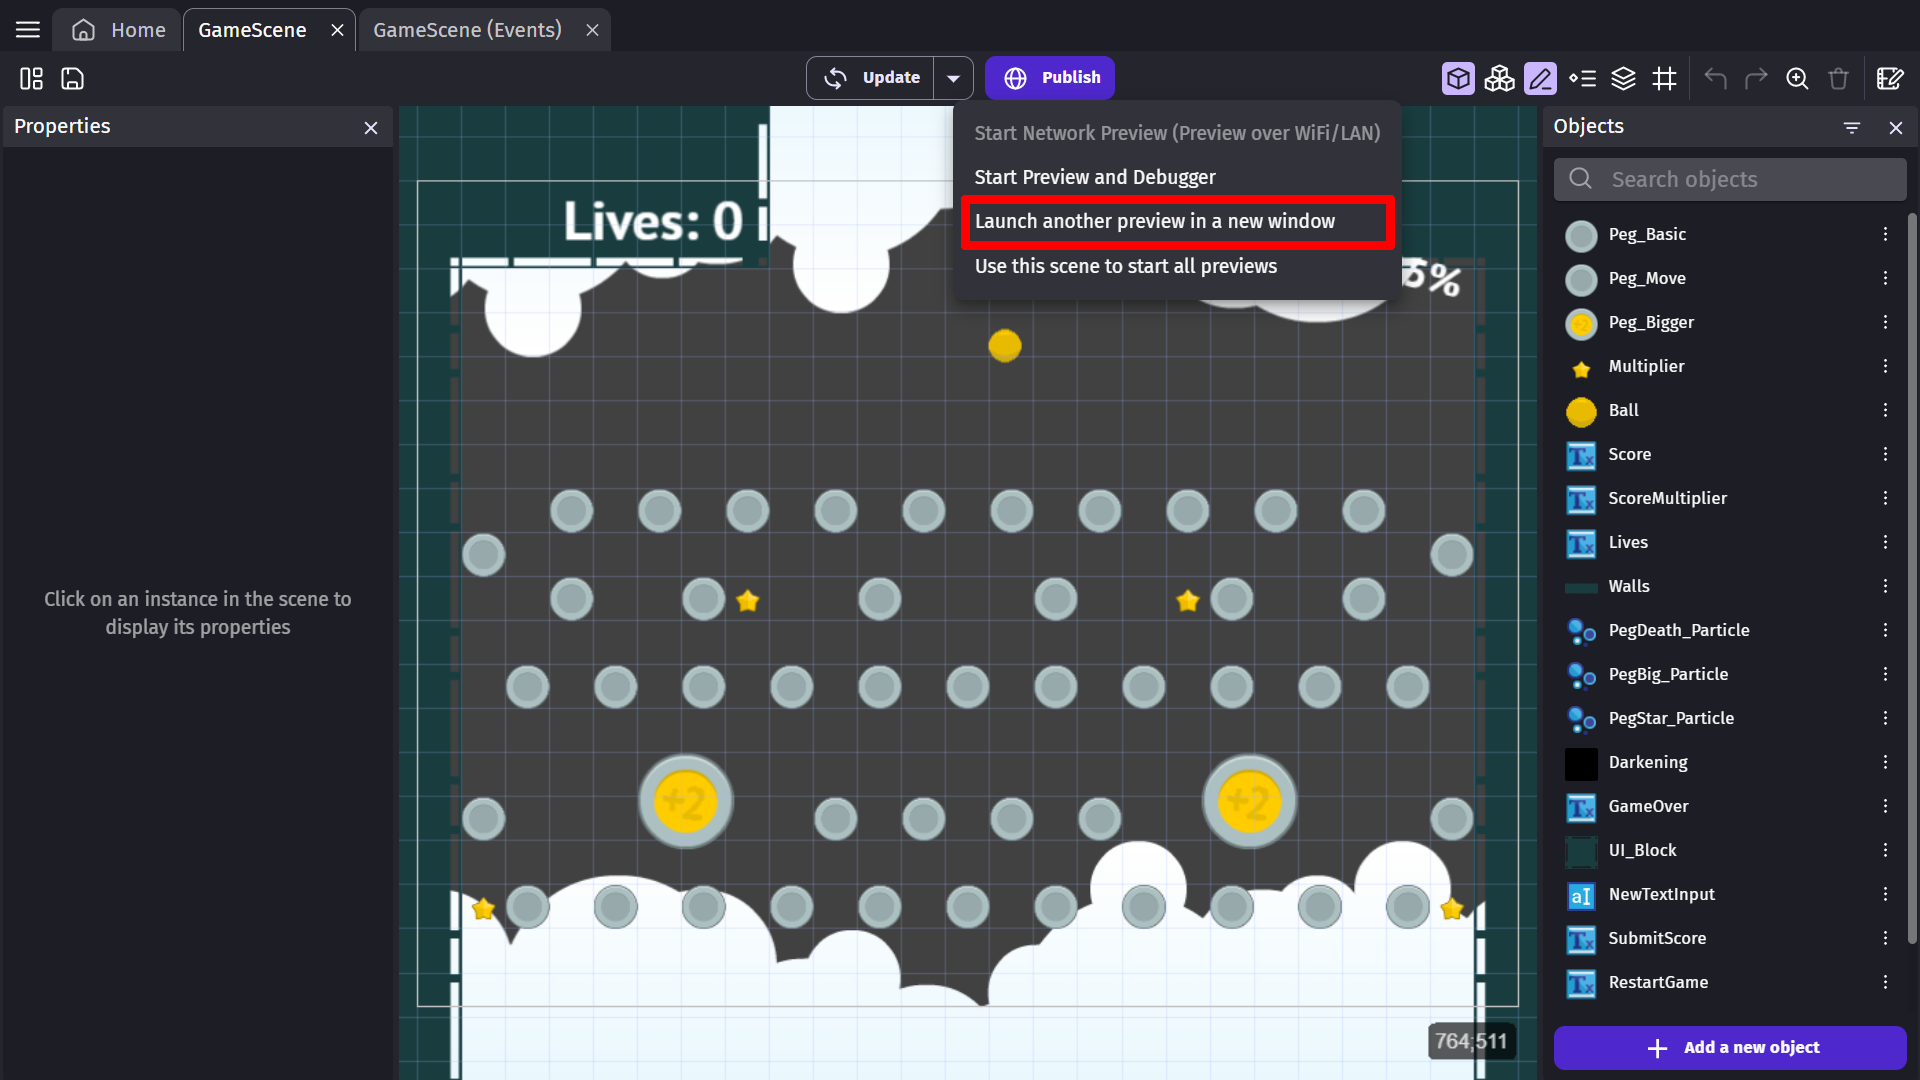
You can click the Play button to apply changes made in the editor, and all the running previews will be updated.
Overriding the scene used to start the preview
By default, the preview starts with the scene that you're currently editing. If you want to force GDevelop to start your game from another scene, first open that scene, then open the drop-down beside the preview button, and choose "Use this scene to start all previews".
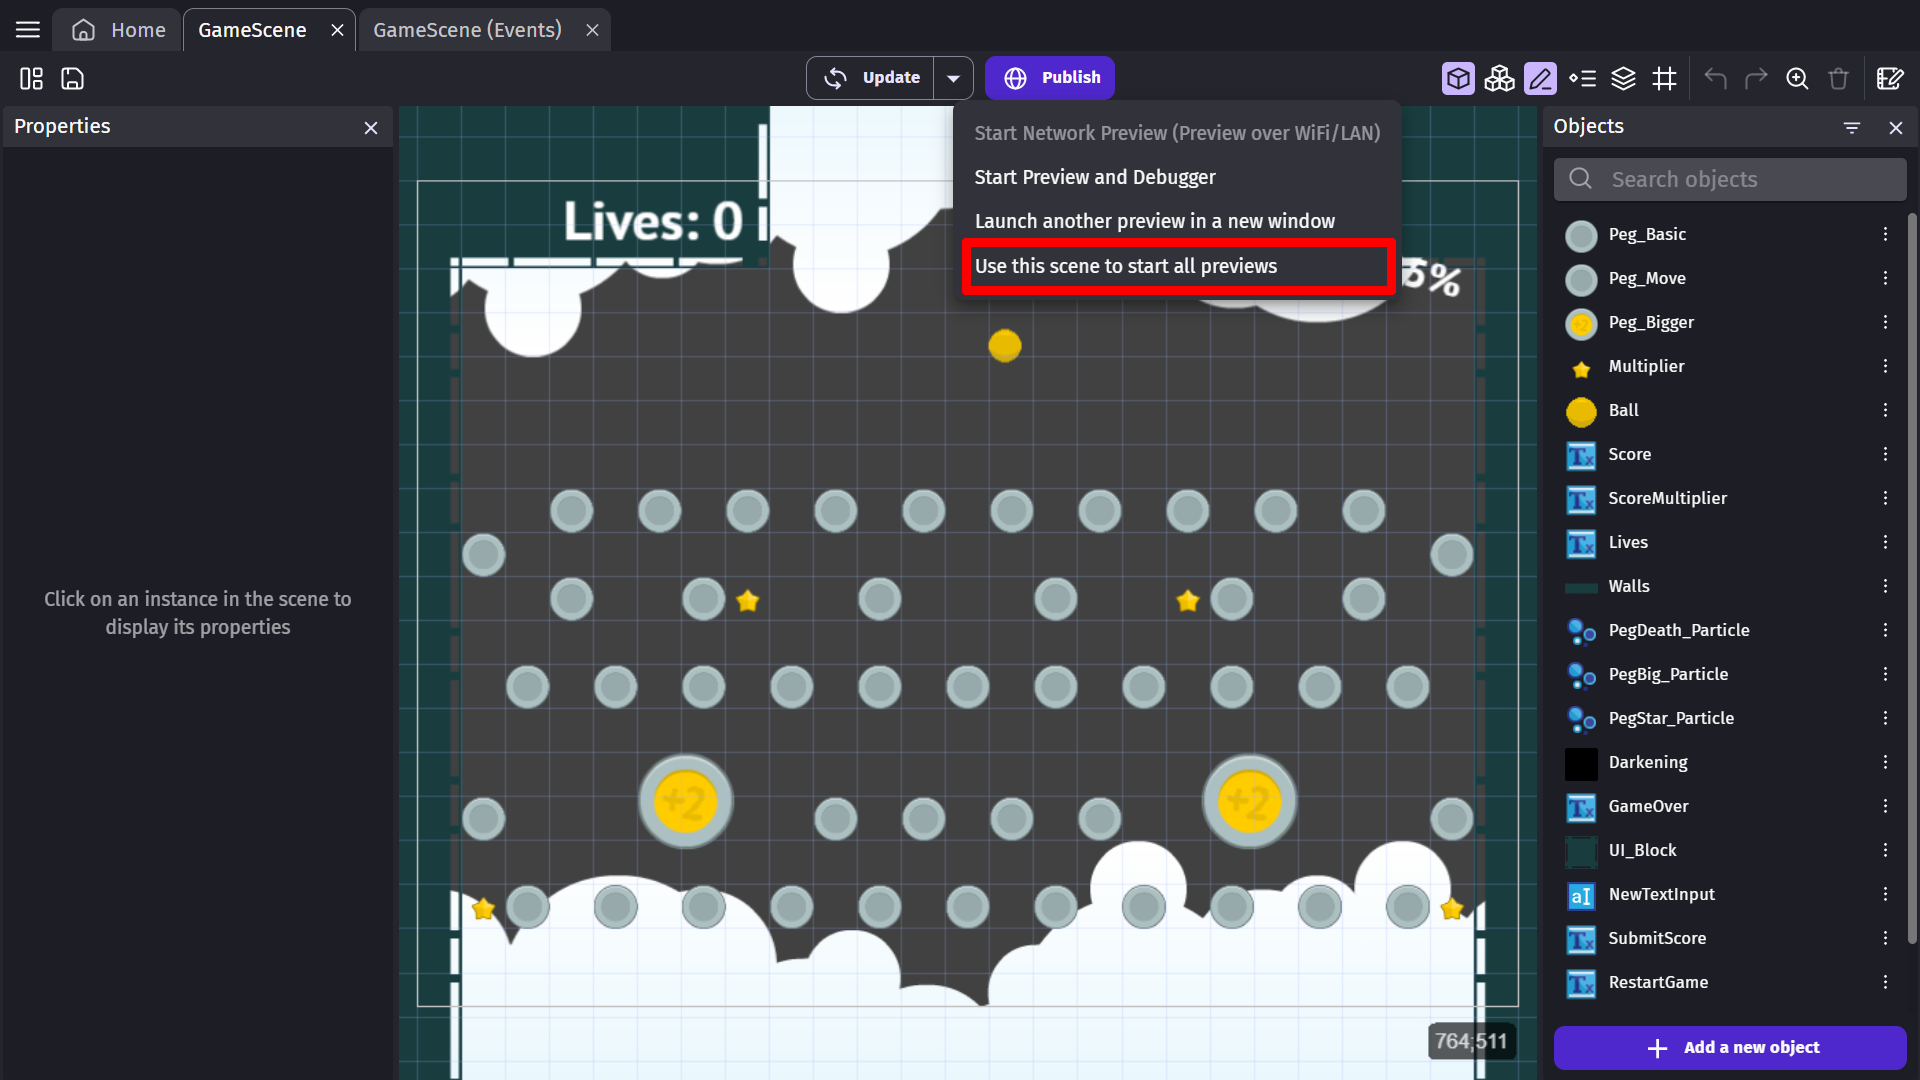
A flag will be added to the icon to remind you that the preview is always starting from the chosen scene, even if you're editing another one. You can later remove this setting by using the same menu and deselecting the option.
Launch a Network preview (Preview over WiFi/LAN)
By selecting "Network preview (Preview over WiFi/LAN)" from the drop-down menu beside the preview button, you can preview your game on mobile devices (or any other computer) connected to the same network as the editor.
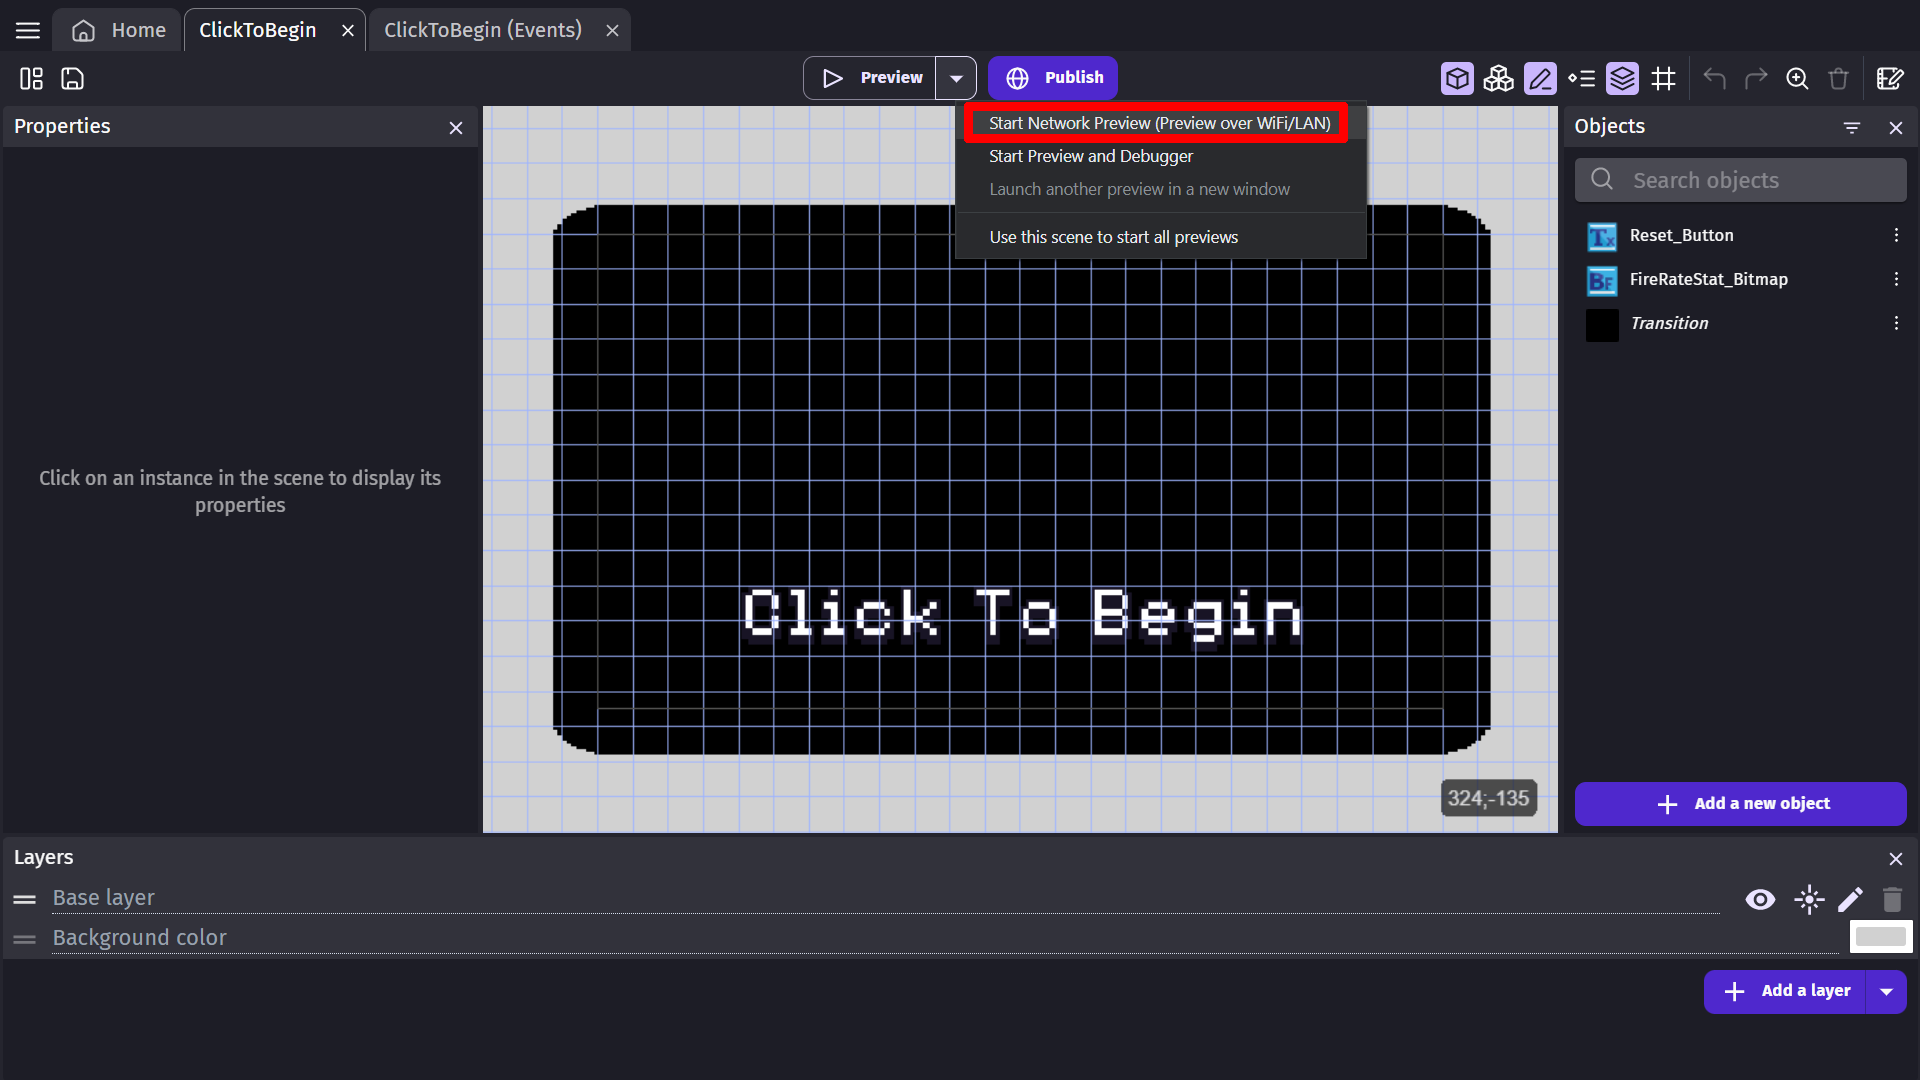
After clicking the button, a window will appear showing the address the preview is being launched on. You can now enter the given address in your smartphone browser (or your other computer browser) to test the game on that device.
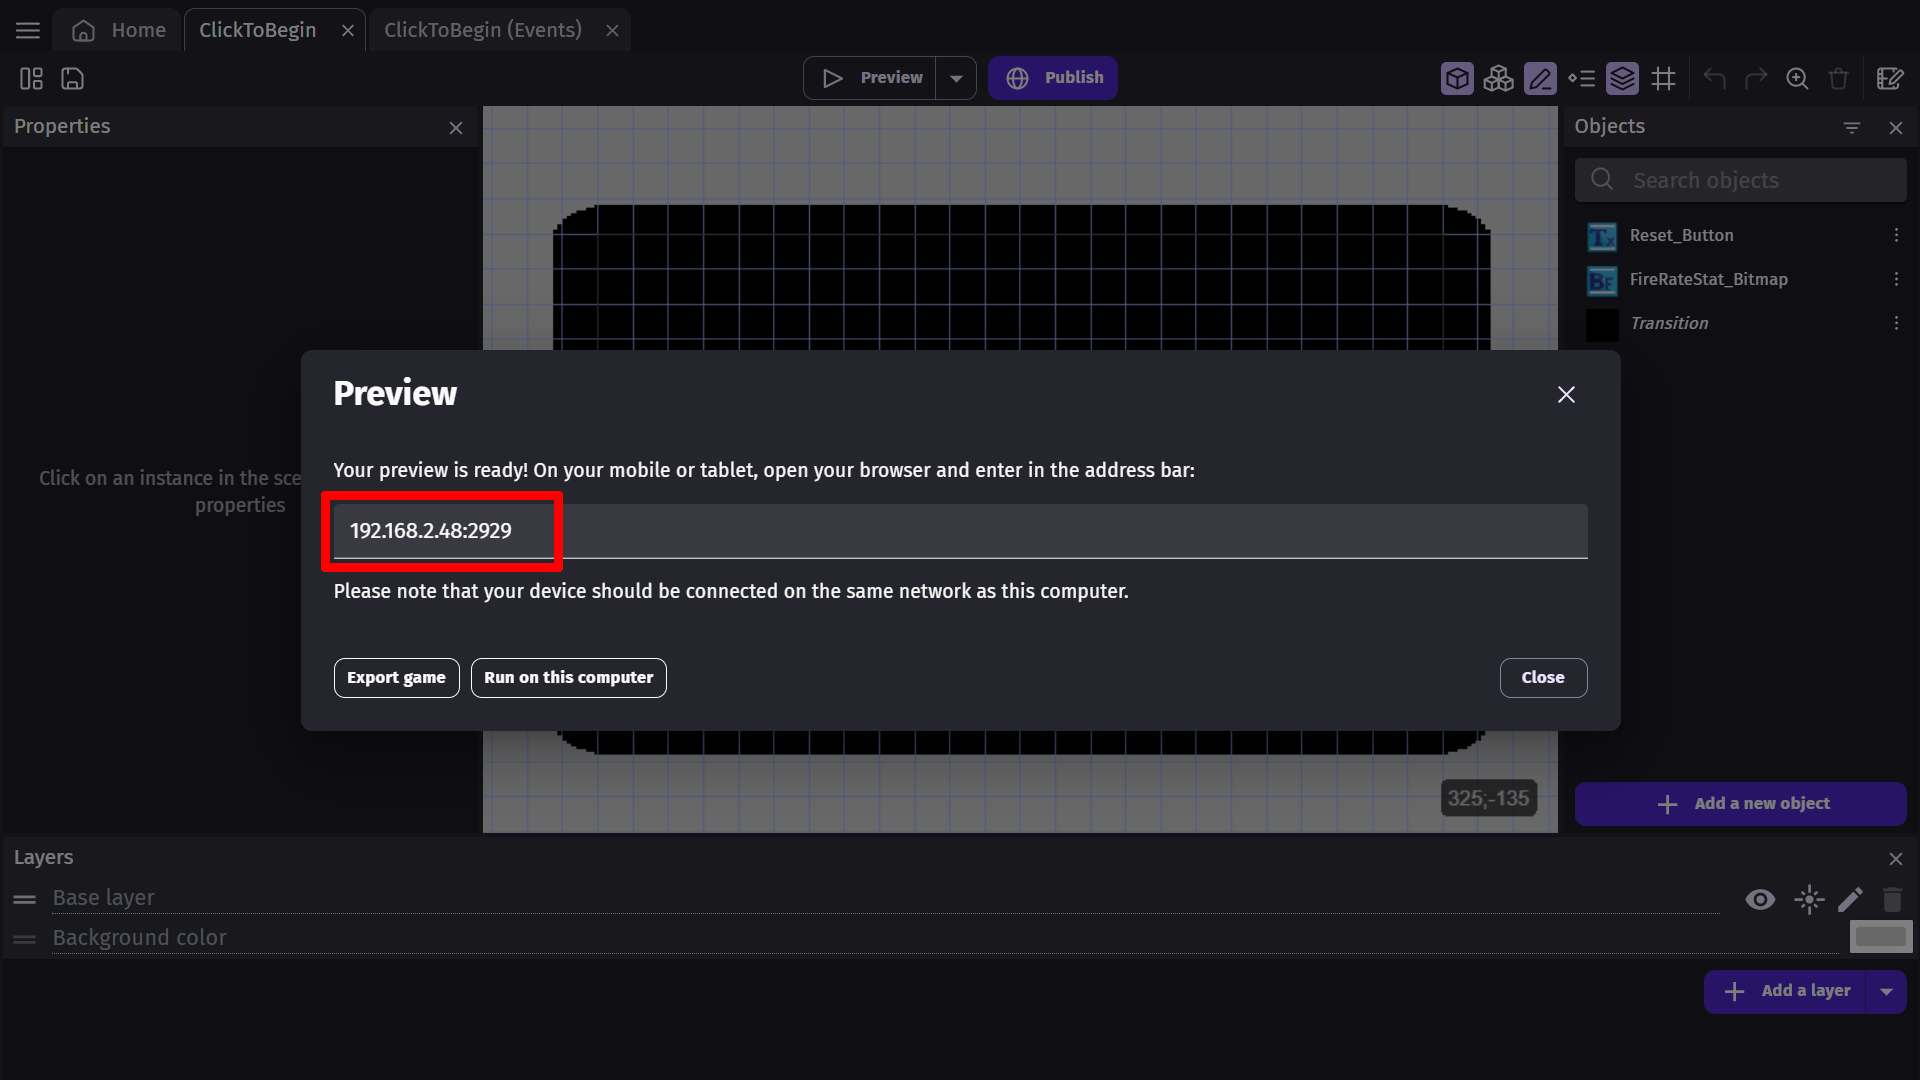
You can now close the pop-up window in the editor and continue to edit your game. When you click on the button to apply the changes to the preview, all the previews running on your computer, other computers or tablet/phones will be updated.
You can also hit the "Reload" button of your device browser to restart the preview from the beginning.
Launch a preview with the Debugger and the Profiler
The Debugger is a tool that can be used to inspect the content of your game (values of variables, existing instances, and their properties...) and can even be used for some real-time editing. The Profiler is a tool to inspect the performance of your game.
You can launch the debugger from the same drop-down menu beside the preview button.
